First Steps
First of all, they aren’t really marble, they’re slate! There that surprised you didn’t it?
The first step is to remove the movement (the clock works) Do this by turning to the back of the clock and opening the door there. You’ll see two screws at nine o’clock and three o’clock. Remove these screws whilst supporting the movement from the front.
The movement will come away quite easily, don’t drop it, instead place it somewhere safe and dust free.
Restoring the Clock Case
Take the case and examine it. We’re going to assume that it is a fairly simple case, no handles or other add on’s, maybe just a bit of engraving for interest.
Any chips and cracks will have limited success in repairing with Milliput or similar (add black colouring to it) If any parts have become detached then reattach with tile cement. Traditionally Plaster of Paris was used to join the separate pieces but it is by no means ideal. This is why you should always support the clock from underneath when carrying it.
Right now arm yourself with some wet and dry paper, P360 or even finer, wrapped round a block. Apply this to the case, always in the same direction so that the surface is scratch free, or at least appears to be - all the scratches are in the same direction.
Carry on doing this remembering to rinse the paper often, until there is not a trace of black left. Pay particular attention to the sides of the case where grease from handling has left light patches.
When you are happy that every bit of black has been removed wipe the case down with white spirit and leave to dry for at least 24 hours.

Restoring the Engraving
Now we’ll sort out the engraved decoration, just take your gold coloured gel pen and draw over the decoration, job done! Leave it to dry overnight, I know it dries pretty quickly but you want it to harden as well. If, when dry, you find you’ve overlapped a little, just rub it off with a bit of wet and dry (dry) wipe with white spirit again and leave to dry.
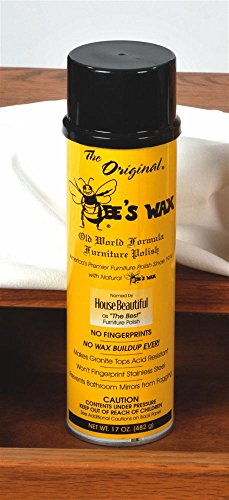
Bees Wax Polish
At Last,Putting a Shine on it.
Now here comes the fun bit, take your beeswax polish, and make sure you do use beeswax, nothing else works, and smear it on thick not with a cloth but a plastic or card spatula. Again, leave to dry overnight or longer if you can bear to.
With your spatula scrape off all the surplus polish and buff up your shiny black case with a soft lint free cloth. Refit the movement and you’re back in business.
No comments:
Post a Comment